Free brushes for Photoshop
- Lenas Eriksson

- Apr 15, 2021
- 2 min read
Updated: Apr 24, 2021
When working in Photoshop you will sooner or later work with the brush tool. Photoshop comes already with plenty of brushes - soft, hard, round - and possibilities to adjust the brush - size, hardness, flow, opacity and many more.
With the brush tool, you can paint in different colours. Even more interesting though is to use the brush in combination with a layer mask. Suddenly the brush is helping you to mask parts of your image. That technique can be used to replace the background of your image or to cut out your subject. Pick the colour black to mask parts of the picture, use white to unmask. Watch the video to see how:
At a more advanced level, brushes
help you to create Photoshop composites. You can add elements to your image like grass, birds, smoke, clouds, fireflies, waves, trees just with the help of a brush. These more specific brushes do not come automatically with the software. You need to either create them yourself or download brushes from the internet to your computer and import them to Photoshop. Both ways are a lot easier as it sounds.
Import new brushes
Downloading brushes, which were created by others, does not need to be complicated or expensive. There are plenty of homepages where you can download brushes for free. Be aware though that free resources can come in lower quality and always check the copyright /licence very carefully. On these pages you can download Photoshop brushes for free:
The next steps are simple:


1. Download the brush of your choice to your computer.
2. Open Photoshop.
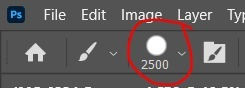
3. Click on the brush tool in your toolbar (Image 1).
4. Choose the brush menu (Image 2).
5. Click on the cogwheel (Image 3).
6. Go down to "Import brushes" (Image 4).
7. Choose the brushes from your computer.
Done. Now you find the new brushes in your brush menu (Image 2).
Creating your own brushes
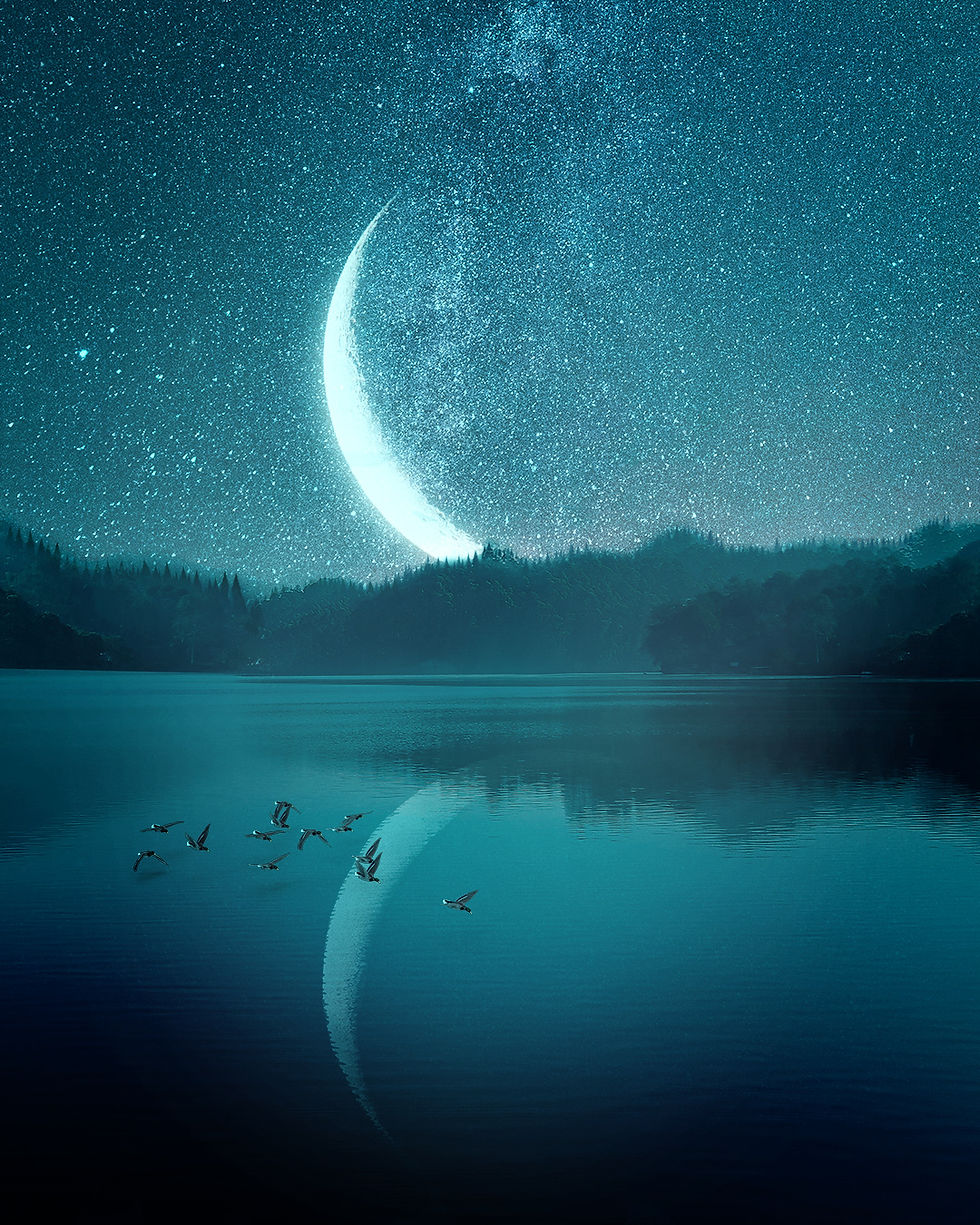
Sometimes you cannot find the right brushes online and you are not yet willing or able to pay for a brush collection. In that case, you can create your own brushes. The other day I needed a tree brush for this image here to the left.
I wanted to make the forest line at the horizon look more realistic as I had exchanged the sky before. I took a png of a tree and made it into a brush. See here how I did that:
The steps are:
Select the element that you want to make into a brush, for instance with the "Rectangular Marquee Tool".
Click on "Edit".
Go down to "Define Brush Preset".
Name your brush and confirm with OK.
Now you find your new brush in your brush menu.
My favourite brushes
This list contains my favourite
brushes which I use frequently:
Soft brush
Hard brush
Fur brush
Grass brush
Cloud brush
Sun rays brush
Fog brush
Particles brush
Smoke brush
Fireflies brush


Comments